The purpose of this blog is to discuss Patellofemoral Pain, dispel myths related to crepitus, chondromalacia, and patellar maltracking, and provide a comprehensive framework for rehab, including exercise progressions with sets and reps.
Looking to improve your strength, range of motion, and power to enhance your function and performance? Check out our Knee Resilience program!
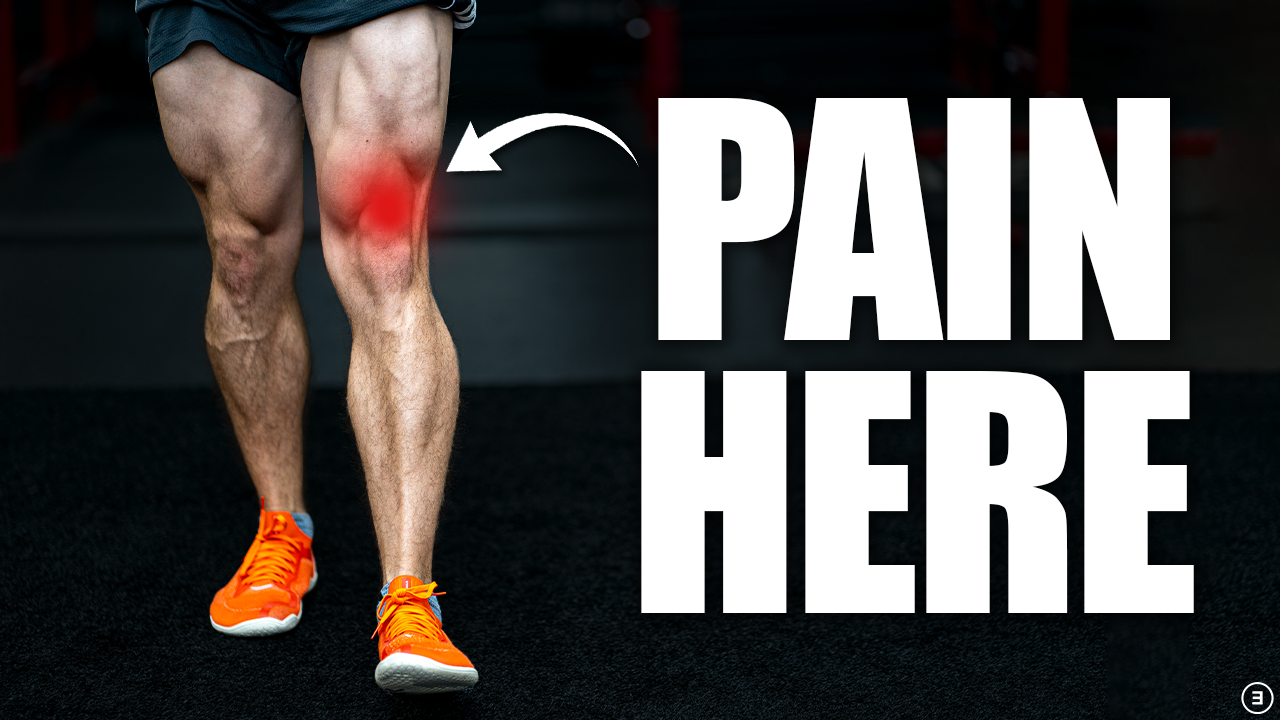
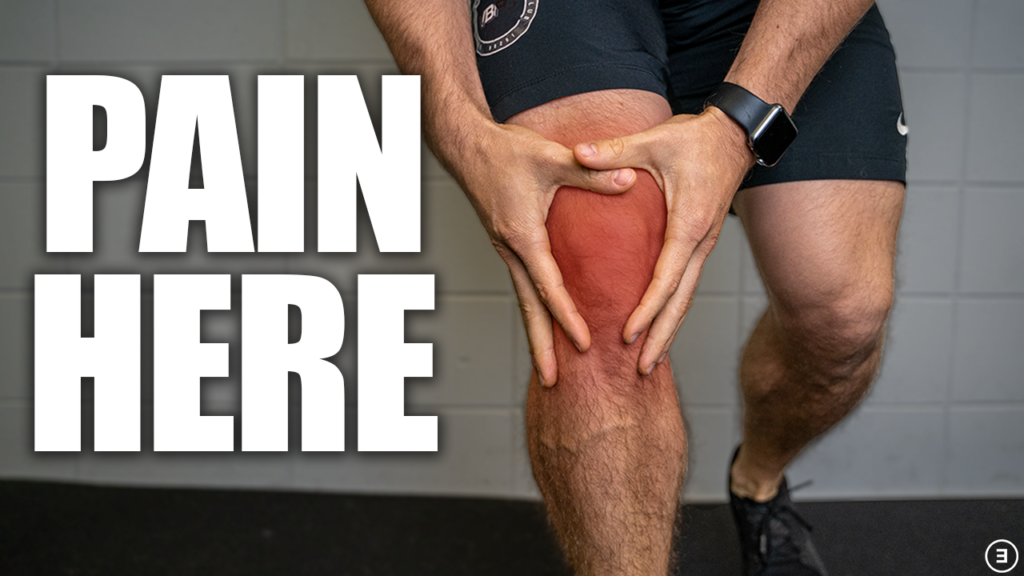
Patellofemoral Pain
“Patello” refers to your patella, or kneecap, while “femoral” refers to your femur, or thigh bone. The patellofemoral joint is where these two bones meet. Therefore, patellofemoral pain is just a fancy way of saying that your knee hurts.
It’s usually non-traumatic in nature with diffuse pain gradually presenting behind or around the patella with squatting, jumping, running, or going up and down stairs. Symptoms may also present with kneeling or prolonged periods of sitting, which has been dubbed the “movie theater” sign.
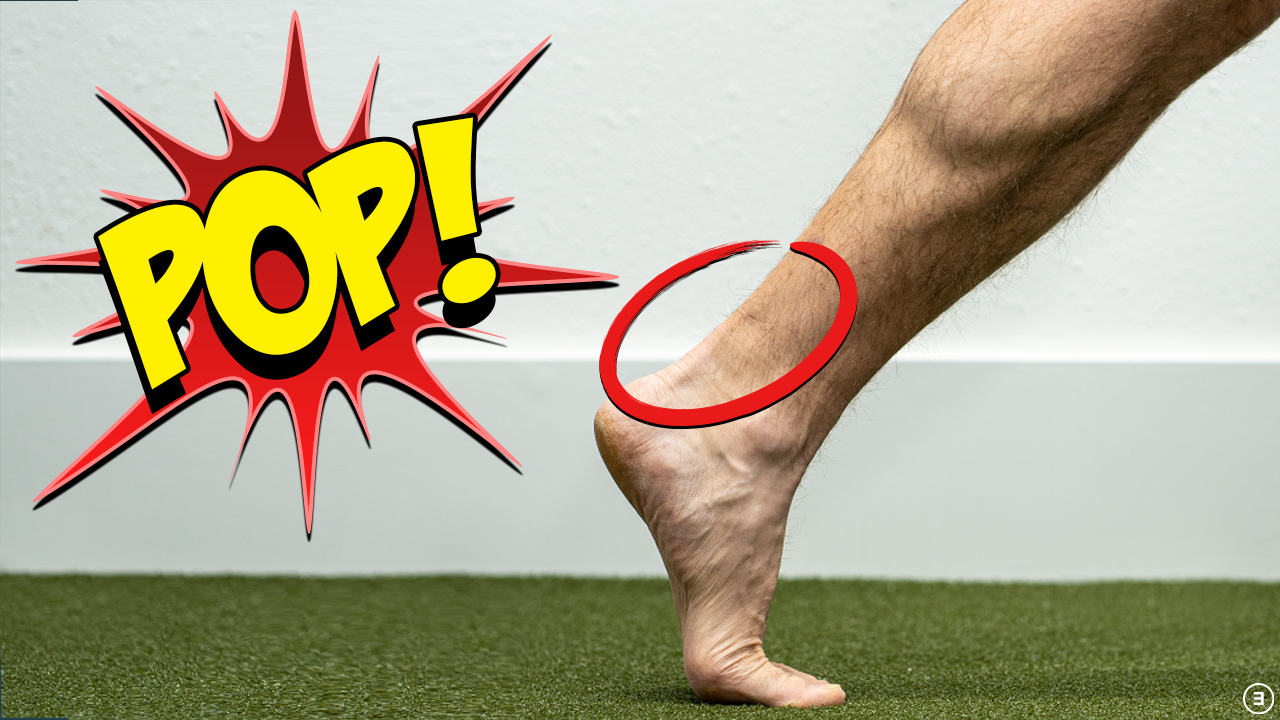
Crepitus
A common concern is crepitus, which refers to a variety of sounds and descriptions – grinding, cracking, popping, etc. Many people associate it with “bone-on-bone,” “wear-and-tear,” and long-term joint damage.
A study by de Oliveira Silva et al in 2018 investigated the relationship between crepitus and function, physical activity level, and pain in women with and without patellofemoral pain. Although the participants with patellofemoral pain were more likely to present with crepitus, the authors concluded that “knee crepitus has no negative impact on function, physical activity level, and pain of women with patellofemoral pain.” Crepitus was also present in 33% of the asymptomatic group.
While the noise may be unpleasant or undesirable, it appears to be quite common and is NOT an indication that exercise is dangerous or harmful.
Chondromalacia Patellae
Another common concern is chondromalacia patellae. “Chondro” refers to cartilage, while “malacia” means softening. Thereforefore, chondromalacia patellae refers to a softening or breakdown of the cartilage on the back side of the patella.
However, a paper by van der Heijden et al in 2016 found “no difference in composition of the patellofemoral cartilage.. between patients with patellofemoral pain and healthy control subjects.” In fact, a 2016 consensus statement by Crossley et al suggested that we shouldn’t even use that terminology.
Patellar Maltracking (VMO, IT Band, & Taping)
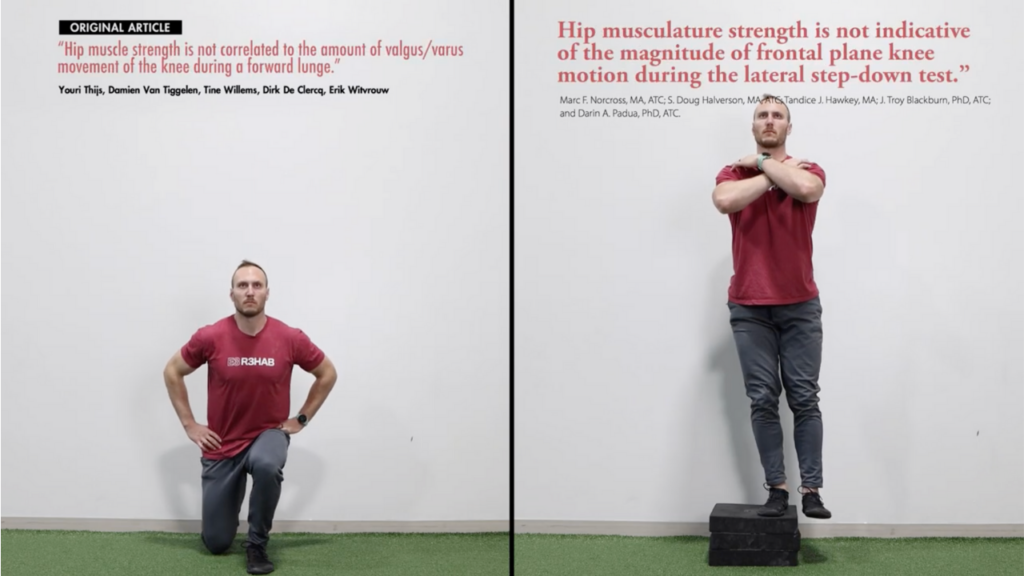
Patellar malalignment or maltracking was once thought to play a significant role in the development and persistence of patellofemoral pain. In order to treat this, it was believed that things pulling laterally on the patella, like a “tight iliotibial band”, had to be released while the things pulling medially, like the vastus medialis obliquus (VMO), needed strengthening and neuromuscular re-education. This theory has NOT panned out.
In 2016, Willet et al found that the Ober’s Test, which has historically been used to assess the “tightness” of the IT band, doesn’t actually assess the length of the IT band.
Papers by Fairclough, Falvey, and Chaudhry also suggest that permanent deformation or elongation of the IT band from stretching, foam rolling, or massage is highly unlikely.
With regards to the VMO, a systematic review by Smith et al in 2009 recommended that “clinicians not focus on VMO strengthening.” Atrophy of the quadriceps in individuals with patellofemoral pain isn’t unique to the VMO, and trying to do specific VMO retraining versus general quadriceps strengthening doesn’t make a difference in the long run.
Plus, most of the exercises in physical therapy aimed at targeting the VMO are extremely low level and focus on trying to change a nonsignificant .01 second difference in firing patterns.
And while taping may contribute to a reduction in symptoms, Ho et al in 2017 found that it has nothing to do with changing the alignment of the patella.
Perhaps most importantly in this section, Carlson et al in 2017 found that females with patellofemoral pain showed an improvement in symptoms without any change in how their patella is tracking.
Stress Isn’t Bad
Before discussing exercise options for patellofemoral pain, it’s important to understand the rationale behind their selection based on some key rehab principles.
You might hear that certain exercises are “bad” for your knees because they cause too much stress, so I want to start by emphasizing that stress isn’t bad. It’s not necessarily good either. Stress is just stress. It’s not a dichotomy, but a continuum that requires context.
If you want to stimulate hypertrophy, stress your muscles. If you don’t stress them enough, you might atrophy. If you stress them too much, you might get rhabdomyolysis.
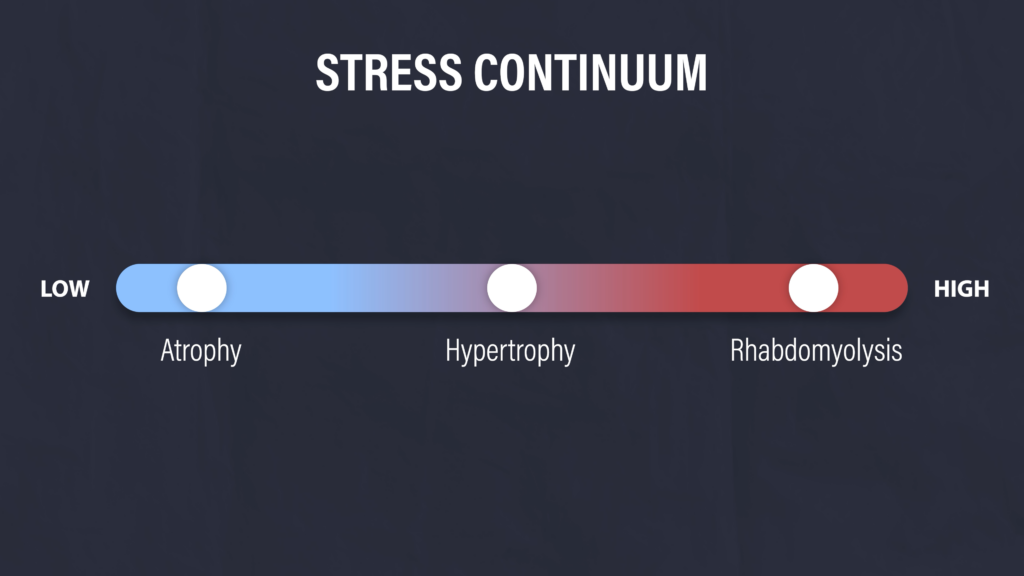
If you want to improve your bone density, stress your bones. If you don’t stress them enough, that might contribute to osteoporosis. If you stress them too much, you might get a stress fracture.
There’s plenty of examples, but you get the point.
Exercise Continuum
Similarly, there are no good or bad exercises for your knees. There are exercises that merely create more or less stress at the patellofemoral joint, which may or may not be appropriate for you in a given scenario.
For weight bearing exercises, there are generally three things that increase the stress at the patellofemoral joint: more knee flexion, higher loads, and a greater distance between your knee and the center of mass behind it.
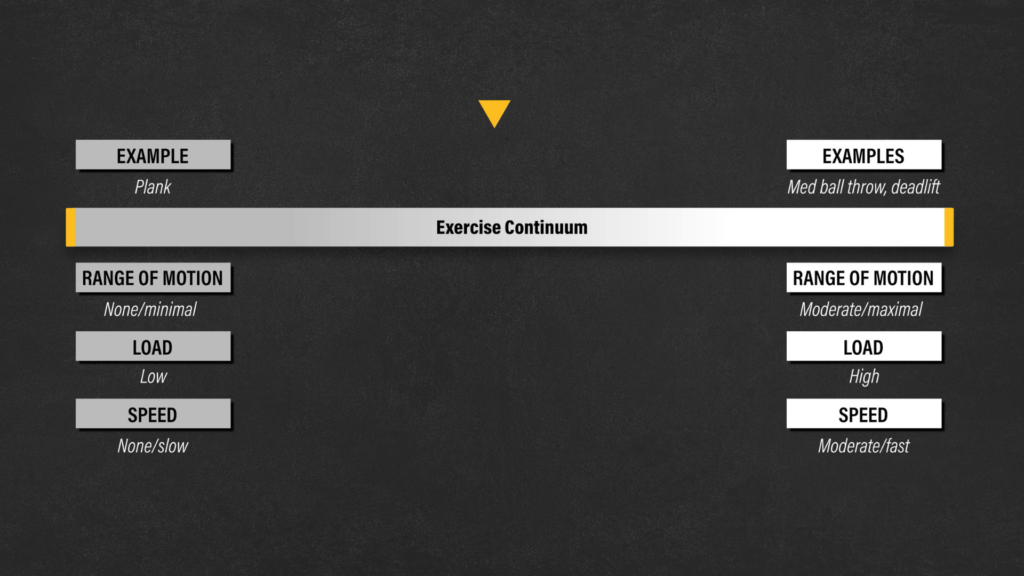
I’ll keep the load constant by using a bodyweight example to demonstrate what I mean.
On the far left side, there’s the hip hinge that creates the least amount of stress at the patellofemoral joint in this example. Then there’s a partial squat that’s followed by a full squat. Next, there’s a squat with the heels elevated. And on the far right side, a sissy squat that creates the most amount of stress at the patellofemoral joint in this example.
If you’re an older, sedentary individual, the bodyweight heel elevated squat might seem inappropriate for you because it’s too difficult. However, if you’re a young, weightlifting gold medalist, the bodyweight heel elevated squat might also seem inappropriate for you because it’s too easy. The exercise isn’t bad in either scenario; it just doesn’t match your needs.
And that’s what I’m trying to get across here. Whether you’re having difficulty with going down the stairs or squatting to the toilet, you have to find the starting point that’s appropriate for you. We’re trying to slowly move you toward the right side of the continuum, only as far as you need to go for your goals.
Patellofemoral Pain Training Considerations
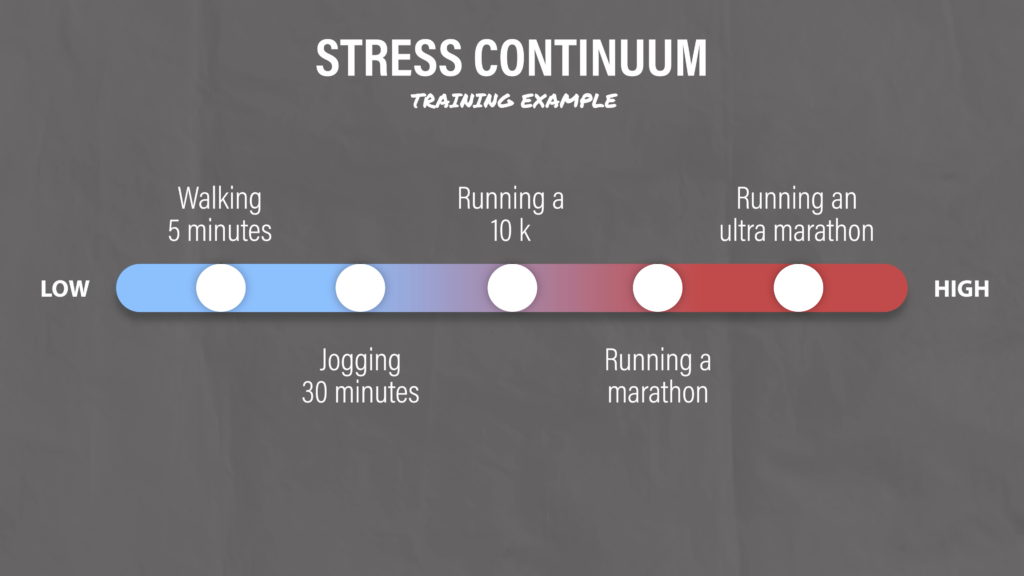
The accumulation of stress is also a consideration. Stress is not just about a single movement or exercise, but the total volume and frequency of an activity. I can run a mile (which is more than enough for my needs), but that doesn’t mean I can do an ultra marathon. I’m not adequately prepared for it.
If we use a similar continuum, walking 5 minutes might be all the way on the left while running an ultra marathon is all the way on the right. You can then fill in the middle however you want by altering the distance or duration of walking and running, as well as the frequency throughout the week.
If your goal is to play basketball for an hour or run a 5k, but you can’t because your knees hurt, that doesn’t mean either activity is bad or out of reach. Instead, you might have to move left along that continuum until you find a tolerable starting point. For some people, that might mean walking 30 minutes per day for a month before slowly adding in some short runs.
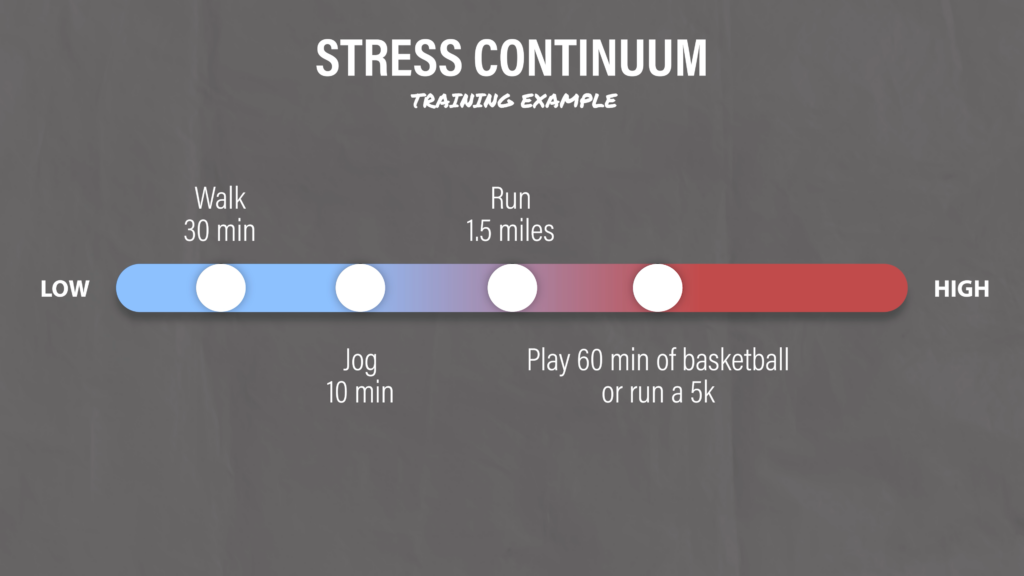
There’s not a single path that everyone has to follow because we all have different starting points and goals.
Hip and Knee Exercises
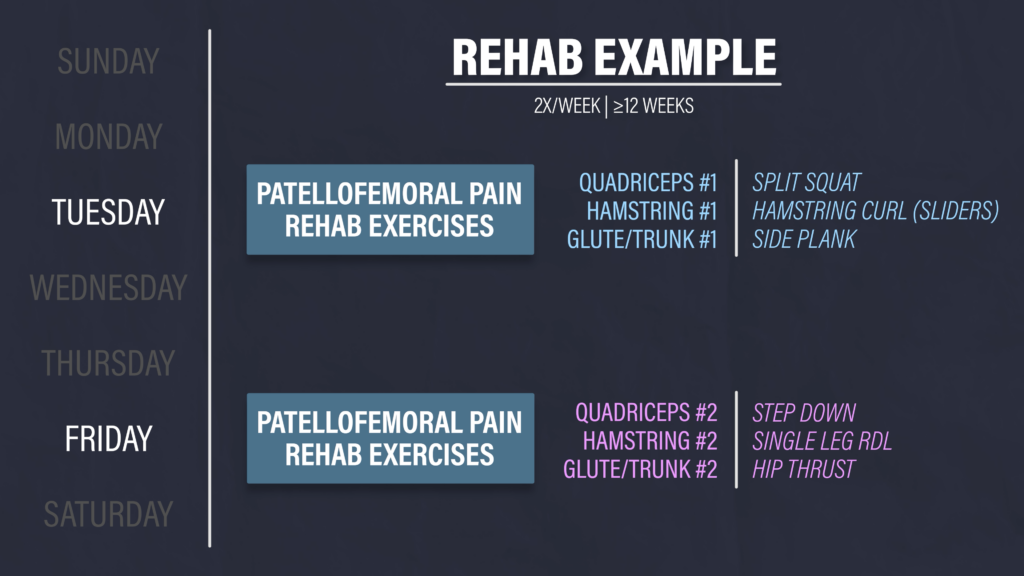
With regards to exercise prescription, it’s usually recommended to incorporate at least some form of hip and knee strengthening. You can certainly do more or less than what I’m going to suggest, but completing 3 exercises, 2 times per week, is manageable for most people.
The goal is to increase your capacity and tolerance to different stressors over the course of several weeks and months. You can do do all the exercises with a #1 as one workout and the exercises with a #2 as a different workout.
Split Squats (Quadriceps Option #1)
Level 1 – Bodyweight Squat. Gently tap your butt to a chair and stand back up. If it’s too challenging or painful, shorten the range of motion or use your hands for assistance. Aim for 3 sets of 20 repetitions.
Level 2 – Split Squat. Start in a stride stance and lower yourself down so that your back knee taps an egg that you don’t want to crack. If it’s too difficult for your front or back leg, shorten the range of motion or use your hands for assistance. Aim for 3 sets of 15 reps.
Level 3 – Front Foot Elevated Split Squat. Elevate the front leg using a 2-4” object to start. Drive your knee as far forward as tolerable. Aim for 3-4 sets of 8-15 slow and controlled reps. Over time, you can progress the height of the step or add weight as needed.

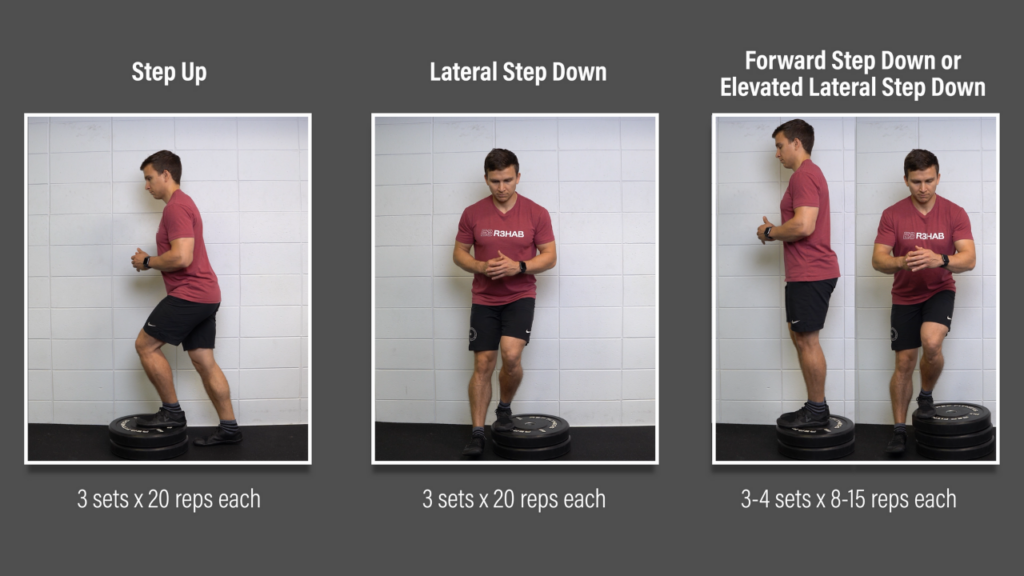
Step Downs (Quadriceps Option #2)
Level 1 – Step Up. Use a stair or objects stacked 6-7 inches high. Don’t push off with the back leg. Focus on putting all of your weight through the working leg and just gently tap up and down with your other heel. If it’s too difficult, decrease the height or use your hands for assistance. Aim for 3 sets of 20 reps per leg.
Level 2 – Lateral Step Down. Same exact cues except this movement will allow for a little more knee travel. Aim for 3 sets of 20 reps per leg.
Level 3 – Forward Step Down or Elevated Lateral Step Down. You can either step forward off the step or continue to perform the lateral step down while gradually increasing the height of the step. Aim for 3-4 sets of 8-15 slow and controlled reps per leg.
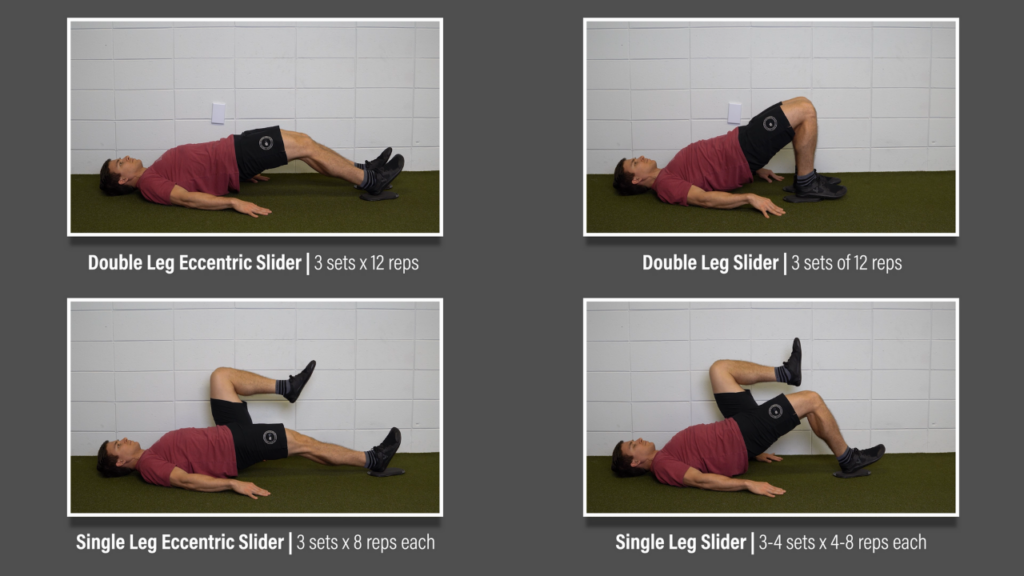
Hamstring Curls with Sliders (Hamstrings Option #1)
Level 1 – Double Leg Eccentric Slider. Bridge up, keep your glutes squeezed, slowly slide your legs out, drop down, bring your feet back to the starting position, and repeat. If you can work up to 3 sets of 12 reps, progress to the next level.
Level 2 – Double Leg Slider. Aim for 3 sets of 12 reps.
Level 3 – Single Leg Eccentric Slider. Aim for 3 sets of 8 reps.
Level 4 – Single Leg Slider. Aim for 3-4 sets of 4-8 reps.
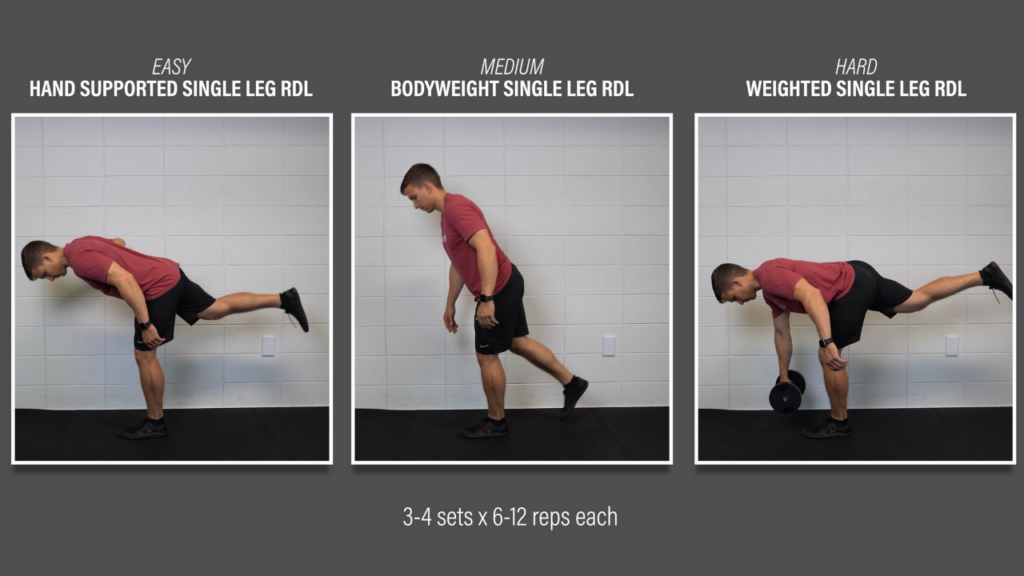
Single Leg RDLs (Hamstrings Option #2)
Stand on one leg while keeping a slight bend in both knees, hinge at your hips until your trunk is almost parallel with the ground, and then return to the starting position. Repeat this movement without touching your foot to the ground. If this is too challenging, use your hands to help with balance, shorten the range of motion, or tap your foot to the ground. Aim for 3-4 sets of 6-12 reps. Add weight as needed.
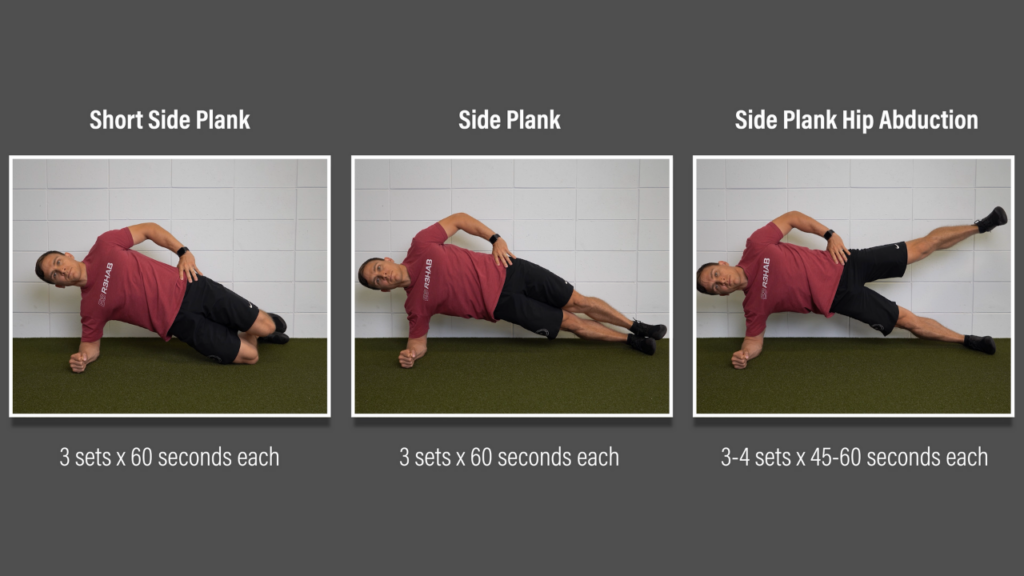
Side Planks (Glutes/Trunk Option #1)
Level 1 – Short Side Plank. Start on your forearm and knees while keeping your trunk in a straight line. Hold this position. Aim for 3 sets of 60 seconds.
Level 2 – Side Plank. Straighten your legs, stack your feet, and keep yourself in a straight line. Aim for 3 sets of 60 seconds.
Level 3 – Side Plank Hip Abduction. Position yourself in the same way as the previous exercise, but slowly move that top leg up and down with good control. Aim for 3-4 sets of 45-60 seconds.
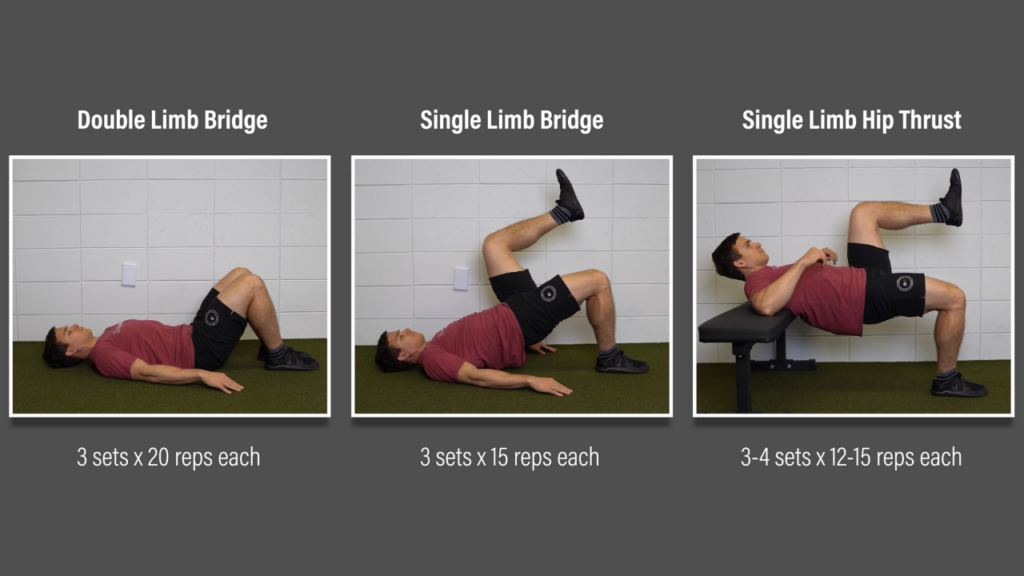
Hip Thrusts (Glutes/Trunk Option #2)
Level 1 – Double Limb Bridge. Lie on your back, bridge up, squeeze your glutes, lower yourself down, and repeat. Aim for 3 sets of 20 reps.
Level 2 – Single Limb Bridge. Aim for 3 sets of 15 reps.
Level 3 – Single Limb Hip Thrust. Aim for 3-4 sets of 12-15 slow and controlled reps. Add weight as needed.
Closing Thoughts on Patellofemoral Pain
Hopefully if you read the blog all the way through, you’ll understand that the exercises that I presented aren’t inherently special, but they progressively challenge the hip and knee through a variety of movements, including ones that stress the patellofemoral joint more over time.
I also want to mention that I primarily discussed physical stress, but pain is multifactorial, and other forms of stress, lack of sleep, medications, comorbidities, etc. may play a role in what you’re experiencing.